How I Finally Stopped Getting Lap Marks When Painting
The roller, primer, and wet-edge technique that stopped lap marks for good, plus the cut-in mistake that cost me a second coat.
TL;DR
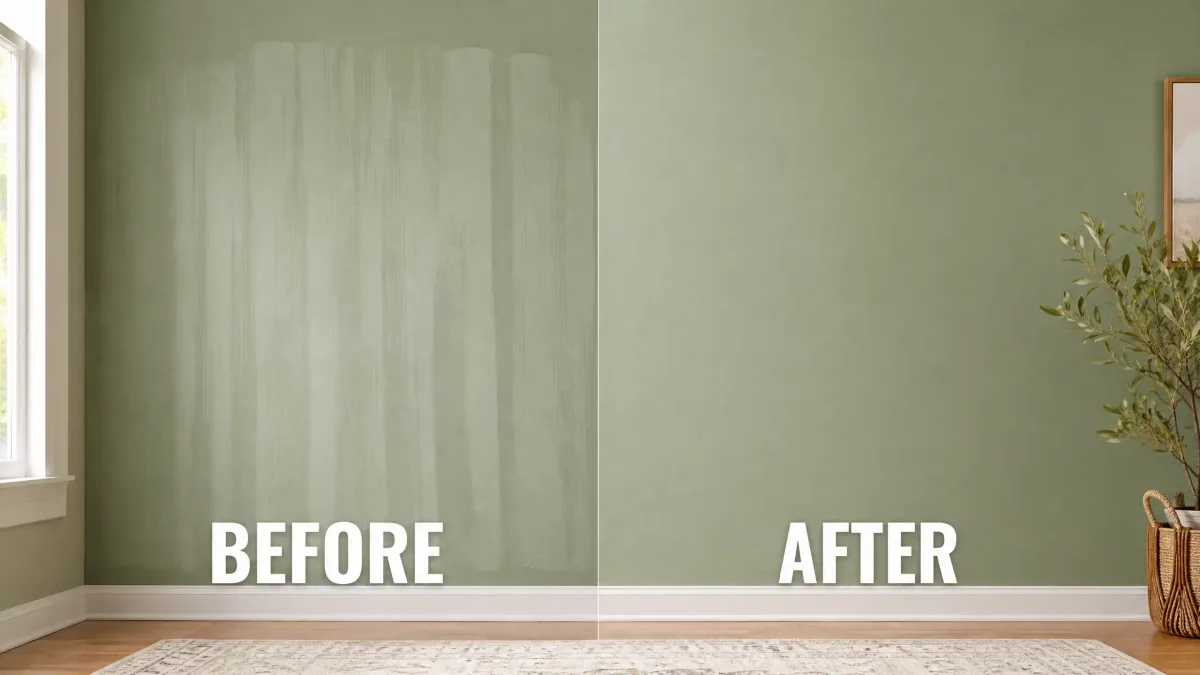
Lap marks come from paint drying between passes, not bad luck. Use a 1/2-inch microfiber roller cover, keep a wet edge by overlapping each strip while the paint is still wet, and cut in only one wall at a time before rolling. I painted a 12x13 bedroom with Behr Premium Plus (one primer coat, two paint) and got a streak-free finish by switching from a 3/8-inch foam cover to microfiber. The one mistake: I let the cut-in lines dry before rolling, which forced a whole extra coat to hide the seams.
I repainted our 12-by-13 bedroom last spring, switching the wall color from a builder’s beige to a muted sage green. The first time I tried this, three years earlier, the walls came out with faint stripes where each roller pass dried — lap marks bad enough that I avoided repainting anything else in the house just to not deal with them again. This time the finish came out flat and even, and the fix turned out to cost about ten extra minutes per wall, not a better paint or a steadier hand.
Why lap marks happen
Lap marks are not a sign you bought the wrong paint. They show up when a roller pass overlaps a strip of paint that has already started to dry. The dried edge has a slightly different sheen and texture, and once it sets, a new wet pass on top of it leaves a visible ridge. The fix is to keep every overlap wet — that is the whole job.
The single most useful habit: roll an entire wall section in one continued motion, then immediately overlap the next strip while the first is still glossy-wet. If the edge has gone flat-matte, you have already lost the wet edge.
What I used
- Paint: Behr Premium Plus, interior eggshell, two coats. One gallon covered the room with about a third left over.
- Primer: one coat of Behr Multi-Surface Primer on the patched spots and the full sage wall (the old beige was lighter, so I primed to avoid a fourth total coat).
- Roller cover: 1/2-inch microfiber, 9-inch. This was the change that mattered most — my earlier attempt used a 3/8-inch foam cover that barely held paint.
- Roller frame: a standard 9-inch cage with a 5-foot extension pole so I could reach the ceiling line without a ladder move every pass.
- Brush for cutting in: a 2-1/2-inch angled sash brush.
Total material cost was about $95, counting the roller cover and a new tray liner. The microfiber cover alone was around $7 and is reusable for several rooms if you rinse it the same day.
Step 1 — Prep the room properly
I moved furniture to the center and covered it, then laid a canvas drop cloth (plastic slips; canvas stays put). I filled two nail holes with spackle, sanded them flush once dry, and wiped every wall with a damp cloth. Dust is the quiet cause of poor adhesion — skip the wipe and you get specks frozen in the first coat.
Step 2 — Cut in one wall at a time, not the whole room
This was my earlier mistake, repeated so you don’t make it. The first time, I cut in every wall’s edges with a brush, then went back to roll. By the time I reached the last wall, the brushed edges had dried and left raised seams that needed a full extra coat to cover.
This time I cut in only the top and bottom edge of one wall, then rolled that wall immediately, brushing and rolling into the same wet line. The brush stroke and roller nap blended with no seam. It is slower in the moment, but it removed the second coat I would otherwise have paid for in time and paint.
Step 3 — Roll with a wet edge
I loaded the microfiber cover, rolled off the excess on the tray’s ramp, then worked in a vertical strip about two feet wide from ceiling to floor. The next strip overlapped the previous by about a third, while the edge was still wet. I did not back-roll a dried area — once a section was done, I left it.
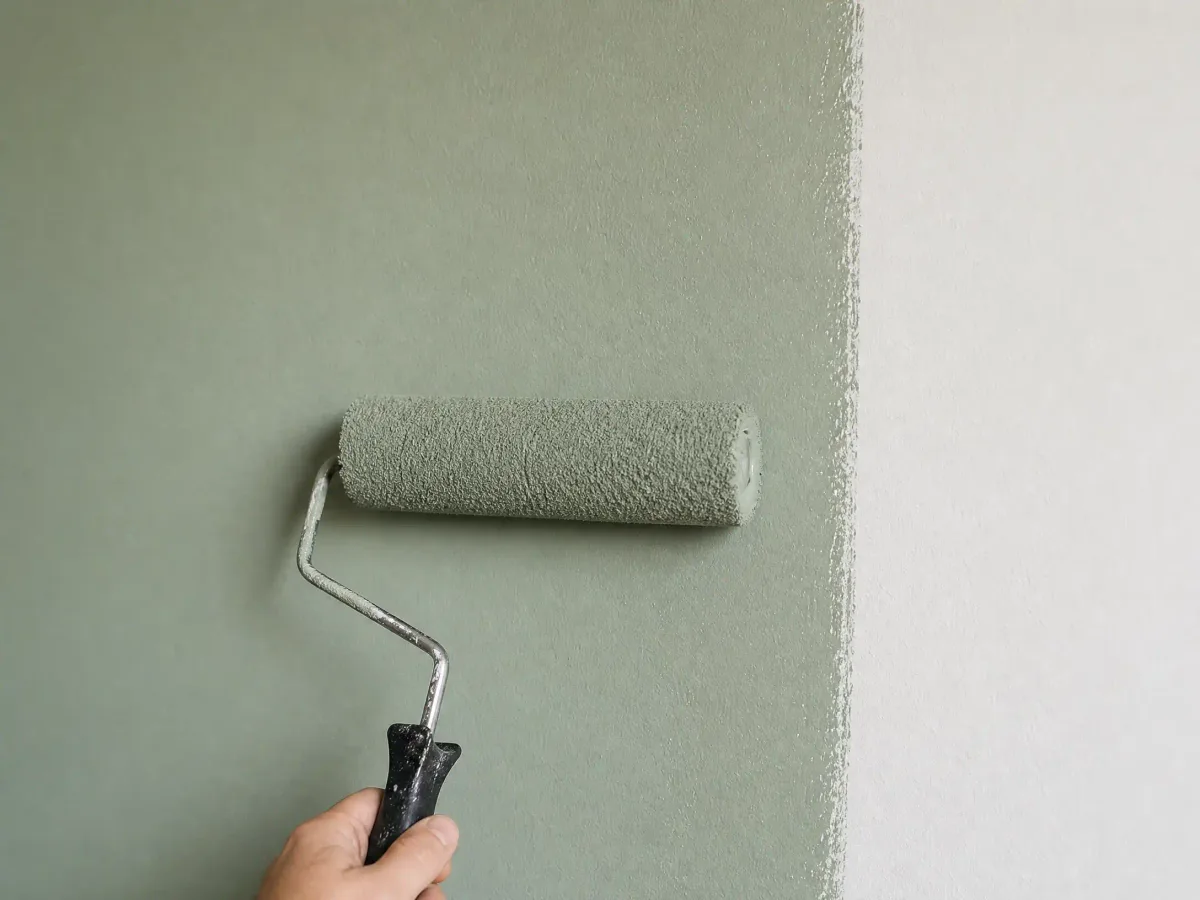
For corners, I rolled in from each adjacent wall so the two directions met while both were wet, rather than letting one corner dry.
Step 4 — Two coats, same method
The first coat looked patchy where the beige showed through — normal. The second coat, applied the next morning after the first was fully dry to the touch (about four hours in 70-degree room temperature), evened everything out. Because I kept the wet edge both times, there were no new lap marks on the second coat.
What I would do differently
The sage needed primer more than I expected — the beige underneath was lighter, so without the primer coat the first paint pass looked thin and I would have needed a third coat. If I were going from a dark color to a light one, I would prime the whole wall without question. The cut-in-one-wall-at-a-time rule is the part I will never skip again; it is the difference between a finish that needs two coats and one that needs three.
If you have a lap-mark horror story or a roller cover you swear by, I would like to hear which combination actually worked in your room.
Key Takeaways
- Lap marks are a drying problem, not a roller problem — keep a wet edge at all times.
- Use a 1/2-inch microfiber roller cover for walls; cheap foam covers leave texture.
- Cut in and roll one wall at a time so seams stay wet.
- Prime patches and dark colors; one primer coat saved me two paint coats on a sage-green wall.
Frequently Asked Questions
What roller cover prevents lap marks best?
How do I keep a wet edge while painting?
Do I need primer if the new color is similar to the old one?
Why did my cut-in lines show after the paint dried?

Malik Areeb Ahmed is a contributor at Aesthetic Vibes, covering home improvement and DIY projects.